Herdr + Claude For Agentic Coding
Earlier in the year we wrote a detailed setup instructions for using Tmux with Claude for agentic development. Since then, Herdr has been gaining tremendous attention, as a modern, agentic-development-aware replacement for tmux, on steroids. At this point I believe Herdr is what most devs would want to use, so I decided to write an updated blog post to help getting started with Herdr-based workflow.
Here it goes…
Irakli’s Setup
Here’s my setup. Borrow what you like. If you’re starting from scratch, this should get you going fast. And yes, you can point Claude at this post and let it do the work!
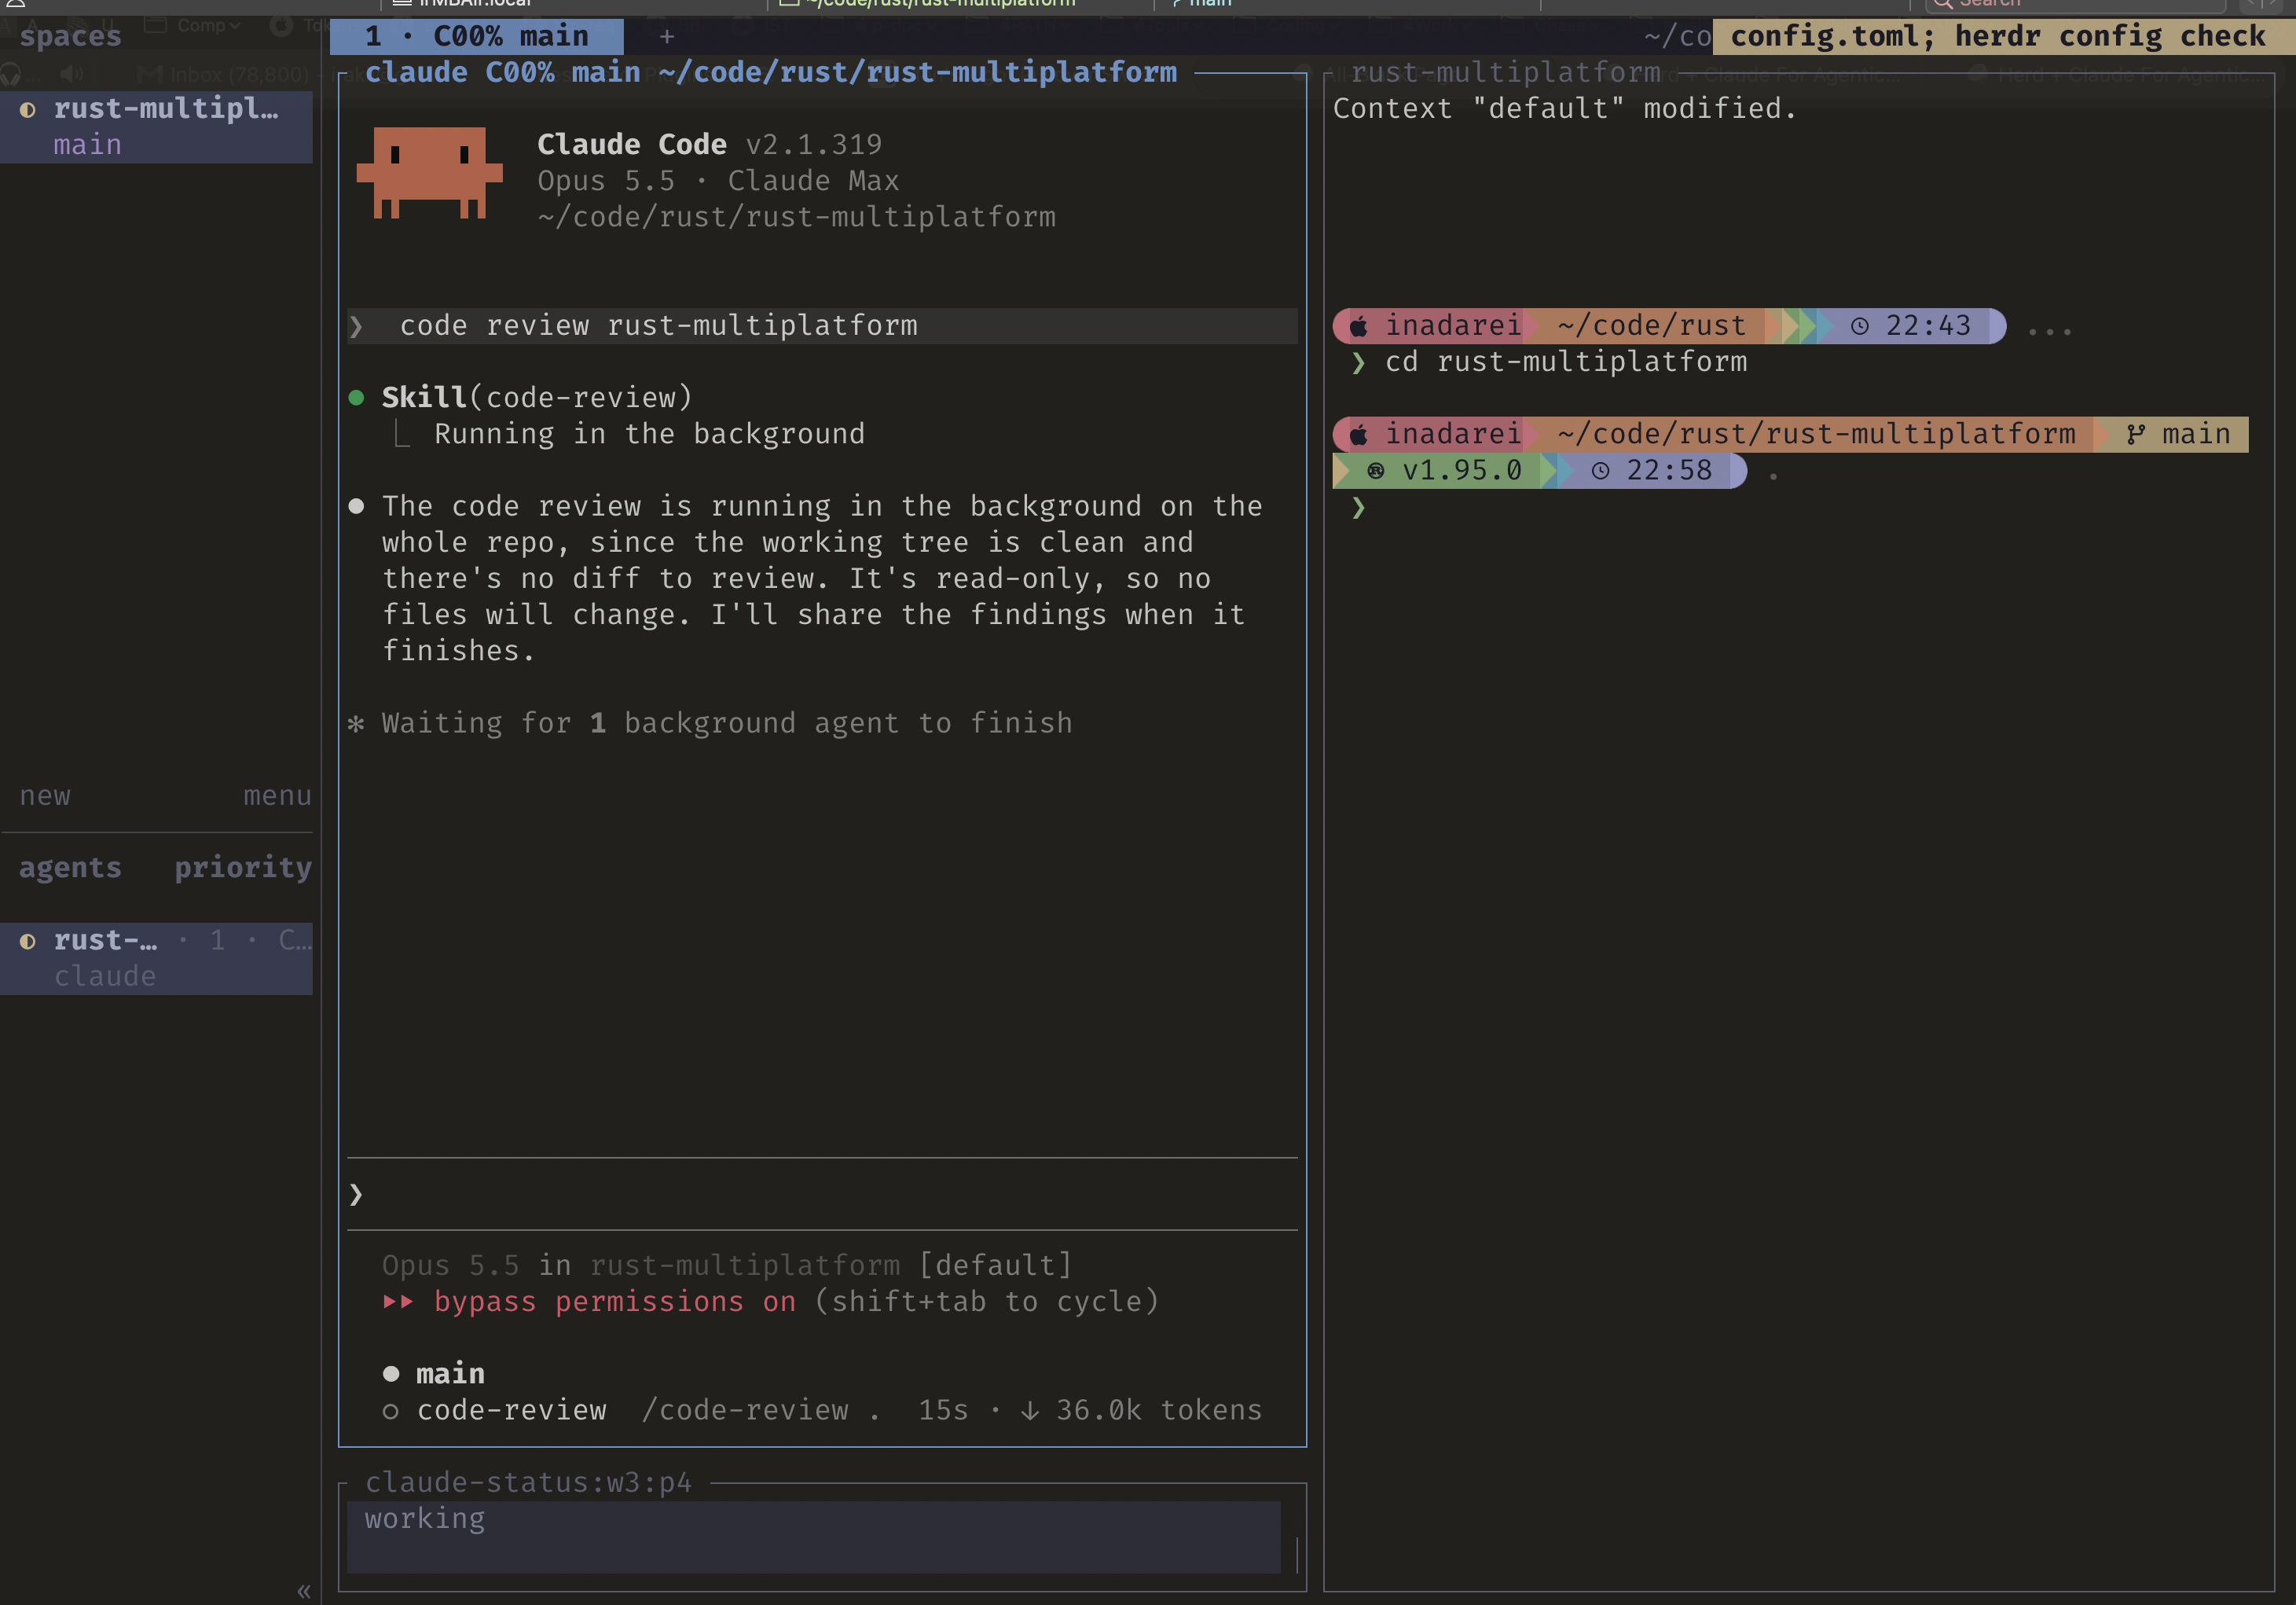
Before the grueling details, here’s the payoff — so you can decide whether to keep reading:
Installation
If you want to get everything workin as soon as possible, just run this installation script:
curl -fsSL https://www.freshblurbs.com/downloads/scripts/setup-herdr.sh | sh
If everything worked well, you should now have a nicely configured herdr setup!
iTerm2 Considerations
If you are using iTerm2.app on MacOS, for Tmux to work well, you need to make sure a couple of configurations are set properly:
-
Settings -> General -> Selection
Make sure all of the following are checked/enabled:
- Copy to clipboard on selection
- Applications in terminal may access clipboard (Allow sending of clipboard contents: Always)
-
Settings -> Profiles -> your profile -> General
Make sure “Applications in Terminal may change the title” checkbox is checked.
Essential Shortcuts:
Reminder: prefix means ctrl+space in our config, and the default is ctrl+b.
- prefix + z
- Zoom in/out. If you have several panes and you want to make one of them “full screen” or go back to “see all panes” view.
- prefix + x
- Close pane
- prefix + -
- Add new pane by splitting horizontally
- prefix + v
- Add new pane by splitting vertically